
 Martez Reed
- 03 Feb, 2017
vSphere Alarms with Slack and StackStorm
Being notified of when something happens in your environment has always been important and has evolved over time from basic emails to IM messages via …
Immutable infrastructure is the concept of utilizing an infrastructure component in an ephemeral manner. This means that the component can be destroyed and recreated at will without major impact.
Advantages
Terraform
Terraform provides us with the ability to create vSphere infrastructure with code. Terraform enables us to quickly tear down and provision new infrastructure which allows us to quickly transition all of our VMs to a new template within a maintenance window.
Our example application is a node.js application with a Mongodb backend.
Web Server: Deployment of our web instance is fairly simple as the web server stores no data that needs to persists across iterations of the instance.
Database Server: Deploying an immutable database server is particularly challenging given the requirement that the data in the database must persist across iterations of the instance.
Data persistence is achieved by decoupling the data drive or .VMDK file from the instantiation of the virtual machine. The virtual machine is created and attaches an existing hard disk that stores the data for our Mongodb database. When we destroy the database VM the .VMDK file is detached and the virtual machine is destroyed.
Folder Layout The design uses three directories to store the Terraform code to allow us to abstract the code that manages the data disk for our database instance from the database instance.
vsphereimmutable/
├── dbinstantiation
│   ├── main.tf
│   └── mongodbinstall.sh
├── instances
│   ├── main.tf
│   ├── mongodbinstall.sh
│   └── nodeinstall.sh
└── persistentdisks
└── main.tf
Now that we’ve walked through the immutable design we’ll jump into the Terraform code and helper scripts to build out the design in our vSphere environment.
All code used in this example can be found on Github.
https://github.com/martezr/terraform-immutable-vsphere
The second hard drive or data drive for our database instance is the first resource we’ll need to create using Terraform. The .VMDK file will be stored in the root of the datastore in this example but can easily be placed into a subfolder for persistent disks.
resource "vsphere_virtual_disk" "DBDisk01" {
  size          = 20
  vmdk_path     = "DBDisk01.vmdk"
  datacenter    = "Datacenter"
  datastore     = "local"
  type          = "thin"
  adapter_type  = "lsiLogic"
}
Let’s go ahead and run Terraform apply to create the data drive.
Terraform apply
The next thing we need to do is create the instance to prep the data drive for use with our immutable database instance.
We need to partition our data drive separate of the database bootstrap script as we only want to partition the data drive only once.
#!/bib/bash

# Partition the second disk
(
echo n # Add a new partition
echo p # Primary partition
echo 1 # Partition number
echo   # First sector (Accept default: 1)
echo   # Last sector (Accept default: varies)
echo w # Write changes
) | sudo fdisk /dev/sdb

echo yes | mkfs.ext4 /dev/sdb

mkdir /mongodb
echo '/dev/sdb    /mongodb  ext4  defaults  0 0' >> /etc/fstab
mount -a

cat << EOF > /etc/yum.repos.d/mongodb-org.repo
[mongodb-org-3.4]
name=MongoDB Repository
baseurl=https://repo.mongodb.org/yum/redhat/7Server/mongodb-org/3.4/x86_64/
gpgcheck=1
enabled=1
gpgkey=https://www.mongodb.org/static/pgp/server-3.4.asc
EOF

yum -y install mongodb-org

cat << EOF > /etc/mongod.conf
# where to write logging data.
systemLog:
  destination: file
  logAppend: true
  path: /var/log/mongodb/mongod.log

# Where and how to store data.
storage:
  dbPath: /mongo
  journal:
    enabled: true
#  engine:
#  mmapv1:
#  wiredTiger:

# how the process runs
processManagement:
  fork: true  # fork and run in background
  pidFilePath: /var/run/mongodb/mongod.pid  # location of pidfile

# network interfaces
net:
  port: 27017
#  bindIp: 127.0.0.1  # Listen to local interface only, comment to listen on all interfaces.

EOF

systemctl start mongod
Now we need to run Terraform apply to create the instance.
Terraform apply
Once our instance has been successfully bootstrapped using the mongodbprep script we’ll need to run the Terraform destroy command to destroy our instantiation instance.
Terraform destroy
Now that the data drive for our Mongodb VM has been prepped we just need to provision our production instances and start adding data.
resource "vsphere_virtual_machine" "Node01" {
  name       = "terraform-node"
  vcpu       = 2
  memory     = 4096

  network_interface {
    label              = "VM Network"
    ipv4_address       = "192.168.1.4"
    ipv4_prefix_length = "24"
    ipv4_gateway       = "192.168.1.254"
  }

  provisioner "file" {
    source      = "nodeinstall.sh"
    destination = "nodeinstall.sh"

    connection {
      type        = "ssh"
      host        = "192.168.1.4"
      user        = "root"
      password    = "password"
    }
  }

 provisioner "remote-exec" {
    connection {
      type        = "ssh"
      host        = "192.168.1.4"
      user        = "root"
      password    = "password"
    }

    inline = [
      "setenforce 0",
      "chmod +x /root/nodeinstall.sh && sh /root/nodeinstall.sh"
    ]
  }


  disk {
    template = "centosnodetemp"
    type     = "thin"
    datastore = "Local_Storage"
  }
}

resource "vsphere_virtual_machine" "DB01" {
  name       = "terraform-db"
  vcpu       = 2
  memory     = 4096

  detach_unknown_disks_on_delete = "true"
  enable_disk_uuid = "true"


  network_interface {
    label              = "VM Network"
    ipv4_address       = "192.168.1.5"
    ipv4_prefix_length = "24"
    ipv4_gateway       = "192.168.1.254"
  }

  provisioner "file" {
    source      = "mongodbinstall.sh"
    destination = "mongodbinstall.sh"

    connection {
      type        = "ssh"
      host        = "192.168.1.5"
      user        = "root"
      password    = "password"
    }
  }

 provisioner "remote-exec" {
    connection {
      type        = "ssh"
      host        = "192.168.1.5"
      user        = "root"
      password    = "password"
    }

    inline = [
      "mkdir /mongodb",
      "echo '/dev/sdb    /mongodb  ext4  defaults  0 0' >> /etc/fstab",
      "mount -a",
      "chmod +x /root/mongodbinstall.sh && sh /root/mongodbinstall.sh"
    ]
  }


  disk {
    template = "centos7temp"
    type     = "thin"
  }

  disk {
    vmdk           = "DBDisk01.vmdk"
    datastore      = "Local_Storage"
    type           = "thin"
    keep_on_remove = "true"
  }
}
Let’s go ahead and run a Terraform apply to build our production instances.
With the node.js app started we should be able to access the example node.js app from our web browser.
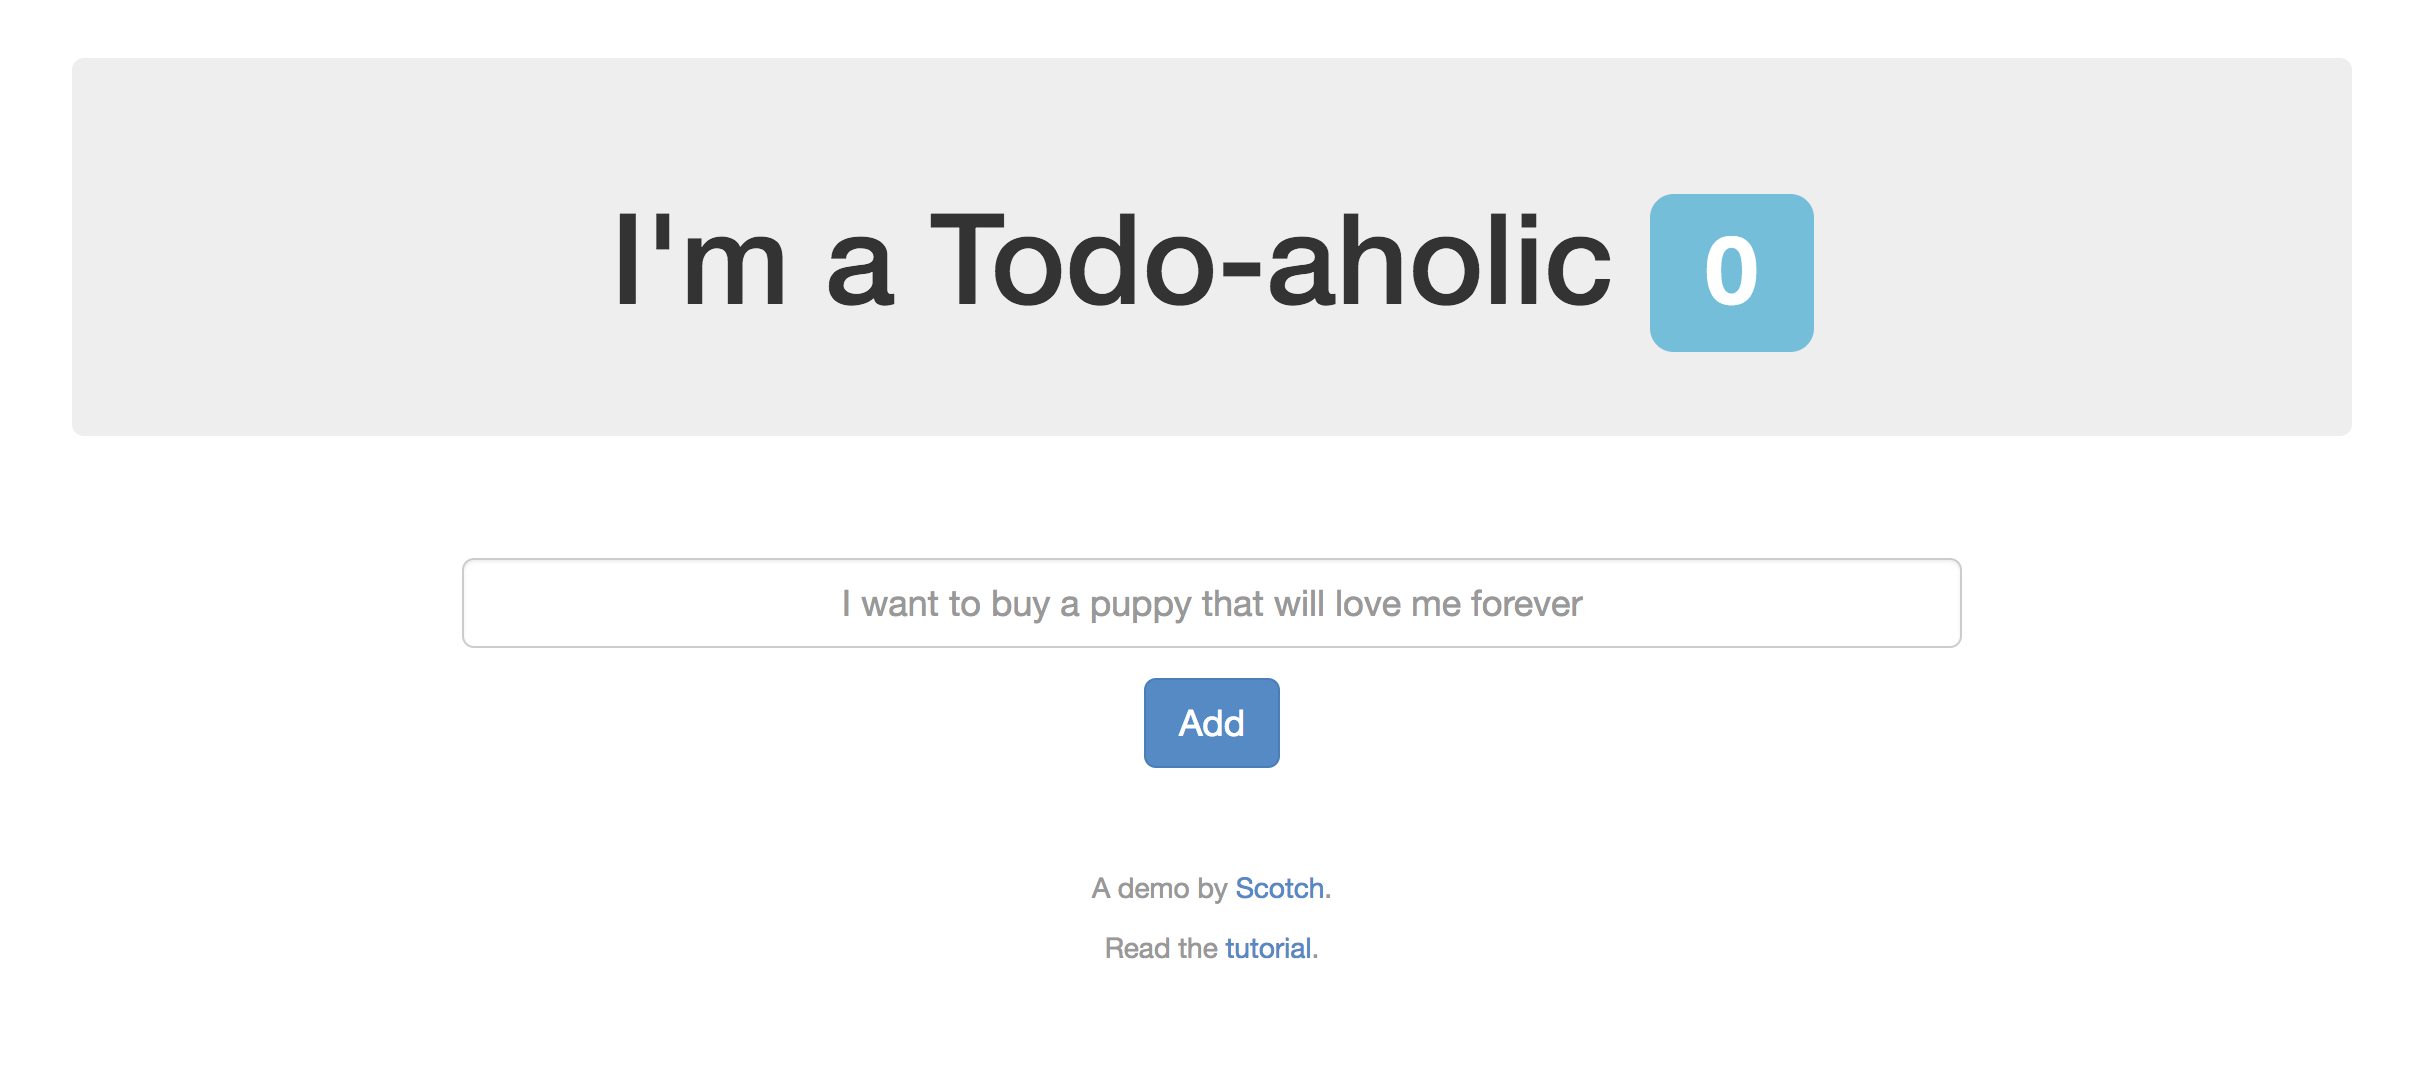
Let’s add some todo items to the list so we can validate that the data persists across instantiations of the database virtual machine.

Add a few tasks to the list, in our example a few whimsical todo items have been added to the list.
The last thing we need to do now is to actually test the immutability of our design by destroying and rebuilding the infrastructure. From within the “instances” directory we need to run the terraform destroy command to destroy the node.js and database virtual machines.
Terraform destroy
Once both of our VMs are destroyed we need recreate them using terraform apply and validate that the todo items are still available in our app.
Terraform apply
If everything works as expected then we should see the todo items we created earlier still in the list. This indicates that we were able to destroy and recreate both the web and database instances without losing any data.
This solution enables us to decouple the underlying virtual machines from the business value provided by our application and allows us to take advantage of immutable infrastructure.
Terraform Provisioner Connection https://www.terraform.io/docs/provisioners/connection.html
Terraform vSphere Provider https://www.terraform.io/docs/providers/vsphere/index.html
Node.js Todo Example App https://scotch.io/tutorials/creating-a-single-page-todo-app-with-node-and-angular
Github example code https://github.com/martezr/terraform-immutable-vsphere

Written By
Solutions architect specializing in automation & orchestration. Interested in configuration management, CI/CD pipelines, infrastructure as code (IaC), and orchestrating disparate pieces of automation.
Being notified of when something happens in your environment has always been important and has evolved over time from basic emails to IM messages via …

In a previous post we walked through configuring a PostgreSQL database server as the external database for our vRealize Orchestrator (vRO) cluster. In …